
Welcome to Level 2! Your finished piece deserves to look its best. A gentle wash removes hoop marks, pencil lines and the oils from your hands, and the right way of ironing makes the fabric smooth while keeping your stitches raised and plump. This week you will learn how to do both safely.
Why wash cross stitch?
While you stitch, fabric picks up creases from the hoop, a little grime from your hands and sometimes marks from a pencil or fabric pen. Washing makes the fabric fresh and bright again and relaxes the creases, so your piece looks crisp in a frame or a hoop.
Before you start: test for color
Most modern embroidery floss is colorfast (the color does not run in water), but deep reds and dark colors can occasionally bleed, especially on the first wash. Before washing a big piece, dampen a spare strand of each strong color on a white paper towel and press it. If any color comes off onto the towel, take extra care and rinse only in cold water.
Stitch Club members only
Keep reading: the rest of this lesson is for Stitch Club members
Still to come in this lesson:
- How to wash your cross stitch
- If a color starts to run
- How to iron without flattening your stitches
- Storing your finished pieces
- Tricky wash day questions
- This week’s challenge, its badge and the practice pattern (PDF)
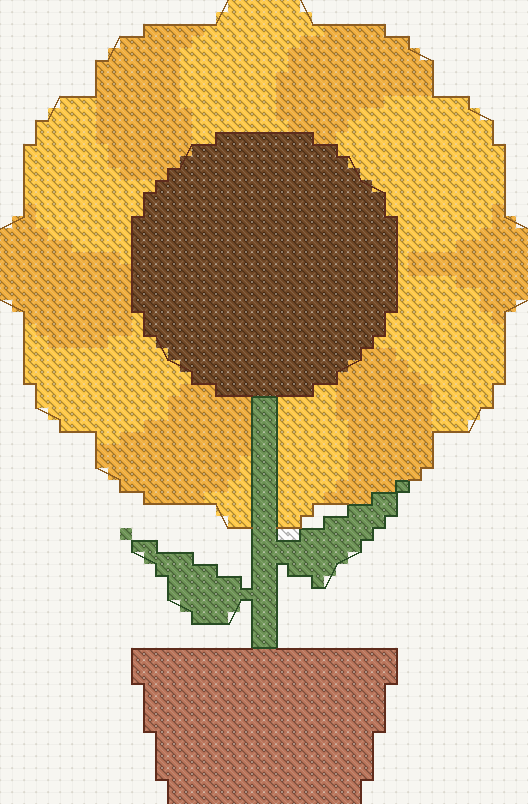 This week’s practice pattern
Every lesson, challenge and practice pattern, the Stitch Tracker and 20% off patterns. Cancel anytime. Already a member? Log in