
A hoop is not only for stitching. It is also one of the quickest, prettiest and cheapest ways to display your work. This week you will turn a finished piece into a hanging hoop, with a neat back that looks as good as the front.
Why finish in a hoop?
- It takes under an hour and needs no special tools.
- It suits small and medium designs perfectly.
- Hoops make lovely gifts, and they are easy to hang anywhere.
Choosing the hoop
Pick a hoop that leaves a comfortable border around the design: about half an inch to an inch (1-2.5 cm) on every side looks balanced. Wooden or bamboo hoops look warm and natural; you can also paint the outer ring or wrap it in ribbon. For display, use a good, round hoop: one you have stitched with for a long time can be slightly bent. Wash and press your piece first (Week 7) so no old hoop marks show.
Stitch Club members only
Keep reading: the rest of this lesson is for Stitch Club members
Still to come in this lesson:
- You will need
- Step by step
- Pretty finishing touches
- Hoop finishing ideas
- This week’s challenge, its badge and the practice pattern (PDF)
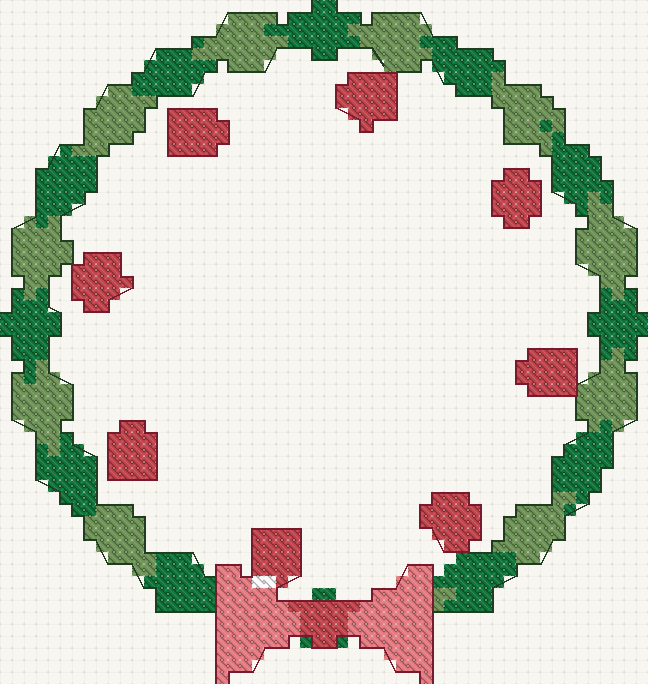 This week’s practice pattern
Every lesson, challenge and practice pattern, the Stitch Tracker and 20% off patterns. Cancel anytime. Already a member? Log in